Making the armadillo
This page shows all the steps in making the armadillo.
I started it on December 29th and finished it on March 29th. I have no idea how many hours were actually spent on this, but it is a typical time span for all of my carving.


Block of wood with silhouette marked out
Rough waste areas cut away on band saw
Starting to rough out the shape using large gouge
Defining the position of head and ears
Defining position of front legs and rounding the back
Head shape and ears defined.
Bottom of shell marked out.
Back of shell and tail defined.
Back end with tail.
Neck and refining the shell shape
Tail roughed out and detail on head drawn in.
Shapes of shell and tail refined.
Front legs and feed roughed out.
Back legs and bottom edge of shell in process.
Shell smoothed and central section drawn in. Back legs starting to be roughed out.
Front feet and claws appearing, eyes marked in.
Tail detail carved.
Underneath carved out and space between legs and feet, much of which couldn't be done with the work the right way up.
Legs done and all main carving complete.
Starting to cut away the central bands.
Detail of bands.
Band detail completes and more refined work on head.
A light stain to darken the wood and give a background texture. Eye also darkened.
Starting to put in the pins to represent the texture of the main shell.
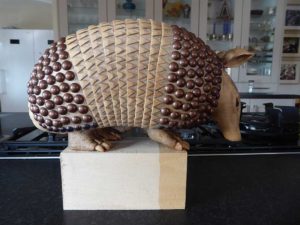
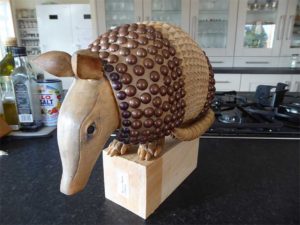
Finished armadillo